Keeping an accurate history of each iteration of your hardware product throughout the course of its development is extremely beneficial. You can go back to a previous state and check what went wrong at any time. As technologies evolve and standards change, having that history enables you to improvise your projects and upgrade your products to the latest requirements with minimum adjustments.
Now, keeping and managing an accurate history of the entire project manually is tedious and prone to errors. But it can also be done automatically using git — which safely manages the entire history of your project every time you make modifications. We have to keep in mind that most git platforms are tailored to software development. Although hardware is much different than just code, git is still incredibly useful. So, in this article, we propose a strategy for structuring your projects such that you can use git to its full potential, all while working with Eagle CAD.
Git & Eagle CAD
First, we need to become familiar with all the files that Eagle CAD considers necessary for your project. Eagle CAD generally works with following types of files:
Project Manager (*.epf):
The project manager file contains all the settings information for your project and it is created every time you create a new project. It also contains all the path references to all the libraries you have used along with any other files. The project file is not crucial for your project, but it can be helpful to share it with your team to sync project information.
Libraries (*.lbr):
Libraries are the templates for components. They are unique files that all the information on a specific component that Eagle CAD requires for design. They are the building blocks that contain information like pin numbers, terminal names, symbol shape, package type and footprint size etc. A library has both a symbol (used in schematics) and a package (footprint for pcb layout). Once a library is used in an Eagle design, it is no longer required as Eagle copies all the information over to the schematic and board files. However, while working with your team, it is recommended to share and use the same libraries to keep your designs consistent.
Schematics (*.sch):
These are the schematics files of your project. The .sch files contain all the information used to represent which components are interconnected, which pin of one component is connected to some pin of another component, how many components are being used, which components are being used and what are the names of these components. The schematic files also copy all the information from the component libraries once the components are placed in a schematic, making the library files less necessary once used. Schematic files are crucial for any eagle project and must be kept safe.
Boards (*.brd):
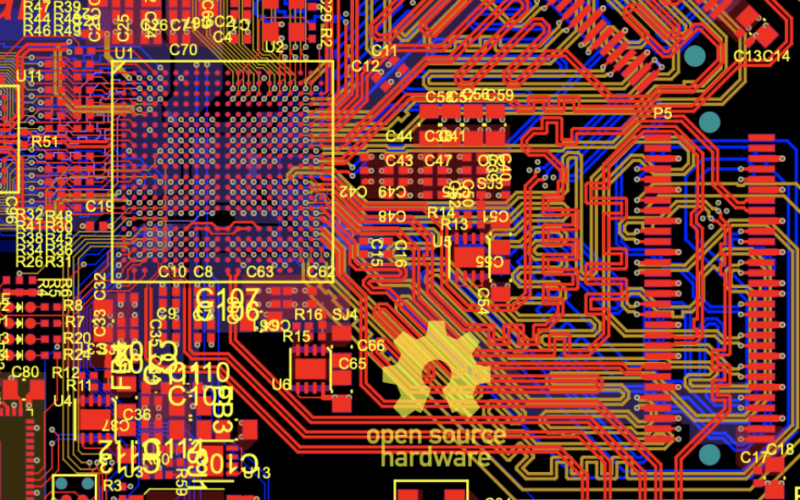
As you might have guessed, these are the files that contain pcb layouts for your project, including what components are used, which footprint corresponds to which component, number of layers, copper traces, via properties, mounting hole specifications and silkscreens. The .brd files also copy the package information from the component libraries and don’t require libraries again unless you need to place a new component or replace a previous component. There is no board design without the .brd file in an eagle project.
Backup Files:
The first thing that’ll jump out instantly as you start working are the *.s#n and the *.b#n files in your project directory. These files are the eagle’s way of making a backup. These files are created as an exact copy of schematics and board files at the moment you start making changes to the original files. This backup system is limited to maximum 9 backups, which is not enough at all for an average project. As git can keep an accurate history of everything automatically, you don’t need the backup files anymore. So, ignore these files and never push them to your project repository.
Miscellaneous Files:
There are a lot of temporary files created along the way while working on an Eagle project. These files serve different purposes, but are not important as they keep changing constantly and can be regenerated anytime as long as you have the schematics and board file. These files are created using different tools in Eagle CAD. For example, the *.pro and *.job files are created whenever the autorouter runs. But once the job is done, these files are not required again. *.plc, *.stc, *.sts, *.crc and *.crs etc are the CAM files created for production of the PCB. These files can be ignored by the developer.
Project Repository Structure
A well thought out file structure for the project repository is useful when collaborating with your engineers. It can serve as a template to bootstrap a new project and will help your team start work immediately. Instead of saving files randomly in the project folder, you should create subfolders for each type of files that are necessary for the design and name them descriptively as “Hardware”, “Firmware”, “Docs”, “Production”, “Simulation” and “CAD”.
Hardware:
The Eagle CAD project must be created in this folder. Going by this standard, you team members will know instantly where the schematics and board designs are and start working.
Firmware:
This folder contains any software developed for the Hardware. Hardware development is a point of convergence for different technologies. Along with the electrical schematics, board layouts, mechanical gears and enclosure, you also have to write and compile bootloaders for our specific hardware.
Docs:
Datasheets are very important for quick reference and verifications. The datasheets for all the main components must be kept in the Docs folder. Any further documentation about the project must be kept in this folder as well.
Production:
This folder contains all the gerber files, BOM, or anything required by the fabrication houses. The production files should be generated for the latest stable version of the hardware which works reliably. These files should only be updated when a better version has been completely designed.
Simulation:
During the development process for our new hardware, you might need to perform several simulation tests. This folder should contain all those simulation files and test results.
CAD:
Hardware is more than just PCBs and schematics. An electronics product also requires proper enclosure, and other hardware like gears and buttons which are designed using any mechanical CAD. These files should be kept in this folder.
After creating the project repository and defining its structure by organizing files and subfolders, you have to tell git to ignore the unnecessary files as well. For that, we need to add a git ignore file. Create an empty text file named “.gitignore” and then copy and paste the following in that file:
# Ignore list for Eagle CAD Projects# Backup files*.s#?*.b#?*.l#?*.b$?*.s$?*.l$?# Autorouter files*.pro*.job# CAM files*.$$$*.cmp*.ly2*.l15*.sol*.plc*.stc*.sts*.crc*.crs*.dri*.drl*.gpi*.pls*.ger*.xln*.drd*.drd.**.s#**.b#**.info*.eps# file locks introduced since 7.x*.lck
By incorporating git in your development process this way, you can avoid running into limitations like maximum repository size for several of the git platforms, allowing you to use it to the fullest. You can also collaborate and delegate tasks to other engineers on your team without passing the project files around in a USB stick or constantly uploading/downloading them from a google drive.
Other git platforms also don’t allow you to meaningfully compare your design files or mark issues in the design files for others to see. Even just rendering the designs for a quick check while using the platform is impossible.
InventHub is an endeavor to solve these problems. On top of git, you can use InventHub for reviewing your designs on the go by rendering them inside the browser. Our platform allows you to add annotations on top of the design files. You can visually compare different iterations of your product and see how the design has evolved. Of course we recommend InventHub as THE git platform for future inventions, but we wrote this article to help you work with and modify your git strategy to help you build faster.


